How to convert MP4 to GIF without losing quality
A practical settings guide for creating a clear, smooth, and reasonably sized animated GIF from video.
Can you convert MP4 to GIF without losing quality?
Not completely. MP4 and GIF store motion in very different ways, so converting video to GIF always involves trade-offs. An MP4 can preserve millions of colors and compress movement efficiently, while an animated GIF uses a limited color palette and stores a sequence of image frames. The goal is therefore not a mathematically lossless conversion. It is to preserve the details viewers notice — faces, product edges, interface text, timing, and motion — while removing information the GIF does not need.
The best-looking result usually comes from preparing the clip before conversion instead of exporting the entire video at maximum resolution and trying to repair an enormous GIF afterward. A short, tightly framed sequence at an appropriate width and frame rate often appears sharper than a larger file containing pauses, empty borders, and duplicate frames. Source quality still matters, but careful selection matters just as much.
For a browser-based workflow, open the Free Video to GIF Converter, upload an MP4, MOV, or WebM file, and select only the moment you want to keep. You can then adjust the crop, output width, frame rate, speed, and quality while comparing the result with the source.
Best video-to-GIF settings at a glance
There is no single high-quality preset for every video. A software tutorial needs readable labels and a visible cursor, while a reaction GIF depends more on facial movement and timing. The table below provides practical starting points that can be refined after previewing the animation at its final display size.
| Use case | Recommended starting settings | What to protect |
|---|---|---|
| Reaction or meme | 3–6 seconds; 15–20 FPS; 480–640 px wide | Expression, timing, and a clean loop |
| Software tutorial | 4–10 seconds; 10–15 FPS; 640–800 px wide | Interface text, cursor movement, and pauses |
| Product demonstration | 3–8 seconds; 12–18 FPS; 600–800 px wide | Product edges, color, and the main action |
| Email animation | 2–6 seconds; 10–15 FPS; match the email column | First frame, message clarity, and loading speed |
| Chat or support reply | 2–5 seconds; 10–15 FPS; 400–600 px wide | Fast loading and one understandable action |
| Portfolio or presentation | 4–10 seconds; 15–20 FPS; 720–960 px wide | Fine detail, smooth movement, and visual polish |
How to convert MP4 to a high-quality GIF
1. Start with the cleanest available video
Use the original recording or export whenever possible. A GIF cannot restore detail that has already been blurred by scaling, aggressive video compression, repeated downloads, or screen-recording artifacts. If the source is soft, noisy, or covered by another platform's overlays, those defects become harder to hide after the color palette is reduced.
Record interface demonstrations at a size close to the final output rather than capturing an entire high-resolution desktop when only one panel matters. For product footage, use stable lighting and avoid unnecessary camera movement. Flat backgrounds, clear edges, and restrained gradients generally survive GIF conversion better than scenes filled with noise, shadows, and rapidly changing textures.
2. Select one complete visual moment
A useful GIF normally communicates one action: a button opens a menu, a product rotates, a person reacts, or a before-and-after state changes. Begin shortly before the action becomes understandable and finish as soon as the visual point is complete. Keeping the surrounding setup may feel safer, but every extra second adds frames and makes later compression more destructive.
Do not use duration as an arbitrary quality rule. A six-second tutorial may need a short pause so readers can understand the final state, while a six-second reaction may feel slow. Judge the clip by whether a viewer can understand it without sound and whether the ending returns naturally to the beginning.
3. Trim pauses before conversion
Remove dead time, repeated movement, long introductions, and the moment after the action has finished. When the original clip requires more precise timing, use Free Trim GIF after conversion to remove unwanted opening or closing frames. Trimming is one of the least damaging ways to reduce file size because it removes content instead of degrading every remaining frame.
For a tutorial, retain only enough pause for a viewer to register each step. For a reaction, cut on a pose that creates a convincing return to the first frame. If the animation has two unrelated actions, create two focused GIFs rather than one long loop that is harder to understand and much harder to optimize.
4. Crop to the part that matters
Cropping improves both quality and file size. A large canvas forces the encoder to spend colors and data on empty desktop areas, letterboxing, browser chrome, or background movement. A tighter crop lets the subject occupy more of the final image even when the output dimensions are reduced.
If you notice unnecessary space after conversion, open the result in Free Crop GIF and isolate the active interface area, product, face, or gesture. Keep enough context to understand the action, but remove everything that does not contribute to it. This is particularly valuable for screen recordings because small interface labels become more readable when the unused desktop is gone.
5. Choose the output width before increasing quality
Output width affects every frame, so it is one of the strongest controls over sharpness and file size. Exporting at the original 1920-pixel video width is rarely useful when the GIF will appear inside a 600-pixel email column or a narrow documentation page. The browser or email client may scale the large file down visually, but the reader still downloads and decodes the extra pixels.
Choose dimensions based on the actual placement. Around 480–640 pixels wide is a practical range for reactions, messages, and compact content. A 640–800 pixel output provides more room for software labels and product detail. Larger dimensions can be justified for portfolios or presentations, but only when the GIF will genuinely be displayed that large. Preserve the aspect ratio unless a deliberate crop is required; stretching the video creates soft text and distorted shapes.
6. Set a frame rate that matches the motion
More frames can make movement smoother, but they do not automatically create a better GIF. A screen tutorial often looks clear at 10–15 FPS because the important information is a sequence of interface states. Facial reactions, hand gestures, and fast product movement may benefit from 15–20 FPS. Going higher can increase the file dramatically while producing only a small visible improvement in normal email, chat, or documentation placements.
Preview cursor movement, small text transitions, and the fastest part of the action. If those elements jump too far between frames, increase FPS modestly. If adjacent frames appear almost identical, reduce it. The aim is to retain meaningful movement, not to preserve the source video's frame rate at any cost.
7. Balance the color palette and visual quality
GIF has a restricted palette, which is why video with gradients, smoke, shadows, skin tones, or photographic backgrounds may show banding or grain. Interface recordings, illustrations, typography, and flat-color products usually convert more cleanly because fewer colors are needed to describe each frame.
Start with a high-quality setting, then inspect the areas where color changes gradually. If the GIF is too large, simplify the scene before applying severe color reduction: shorten it, crop it, or lower its dimensions. Strong palette reduction should be a later step because it affects every frame and may damage brand colors, faces, and subtle product finishes.
8. Adjust speed only when it improves comprehension
GIF speed should reflect the viewing task rather than the pace of the original recording. A tutorial may need to be slowed slightly so users can follow a cursor or read a label. A product spin or reaction may benefit from a faster edit that reaches the key moment quickly. Excessively slow playback increases the perceived waiting time even when the number of frames stays unchanged, while excessive speed makes the loop difficult to understand.
Use the Free GIF Editor when the converted animation needs broader refinement, such as timing changes or sequence cleanup. Review the entire loop several times instead of judging only individual frames; a technically sharp GIF can still feel poor when its rhythm is awkward.
How quality, smoothness, and file size interact
A high-quality GIF is a balance rather than a maximum setting. Dimensions determine how much spatial detail each frame can show. Frame rate determines how frequently movement is sampled. Duration determines how many moments must be stored. Color complexity determines how faithfully gradients, photos, and subtle edges can be represented. Increasing all four at once usually creates a file that is too large for practical use.
| Setting | Increase it when… | Reduce it when… | Likely effect |
|---|---|---|---|
| Width and height | Small text or product detail is unreadable | The GIF appears smaller in its destination | Largest impact on sharpness and file size |
| Frame rate | Fast motion looks jumpy | Frames are nearly identical | Smoother movement but more frame data |
| Duration | The action is incomplete | There are pauses or repeated actions | More context but a much larger file |
| Color quality | Gradients, faces, or brand colors look damaged | The scene uses flat colors or must be much smaller | Cleaner color but a heavier animation |
| Playback speed | The GIF feels slow or delays the key moment | Readers cannot follow the action | Changes comprehension and loop rhythm |
Recommended settings by source video
Screen recordings and software tutorials
Protect readability before smoothness. Crop to the active window, keep the cursor visible, and choose a width that lets labels remain legible at the final placement. Ten to fifteen FPS is often sufficient because most interface changes are discrete rather than cinematic. Remove waiting for pages to load, repeated clicks, and unnecessary movement between the controls that matter.
If a walkthrough still produces a large file, send the finished result through the Free GIF Compressor and choose a target that fits its destination. Compression works better after the clip has been trimmed and cropped because the remaining data is concentrated on the information the viewer needs.
If you need to meet a specific upload limit, see our guide to compressing GIFs to a target file size. It explains when to aim for 256 KB, 1 MB, 2 MB, 5 MB, and other common targets, and how to preserve clarity and smooth motion while reducing the finished animation.
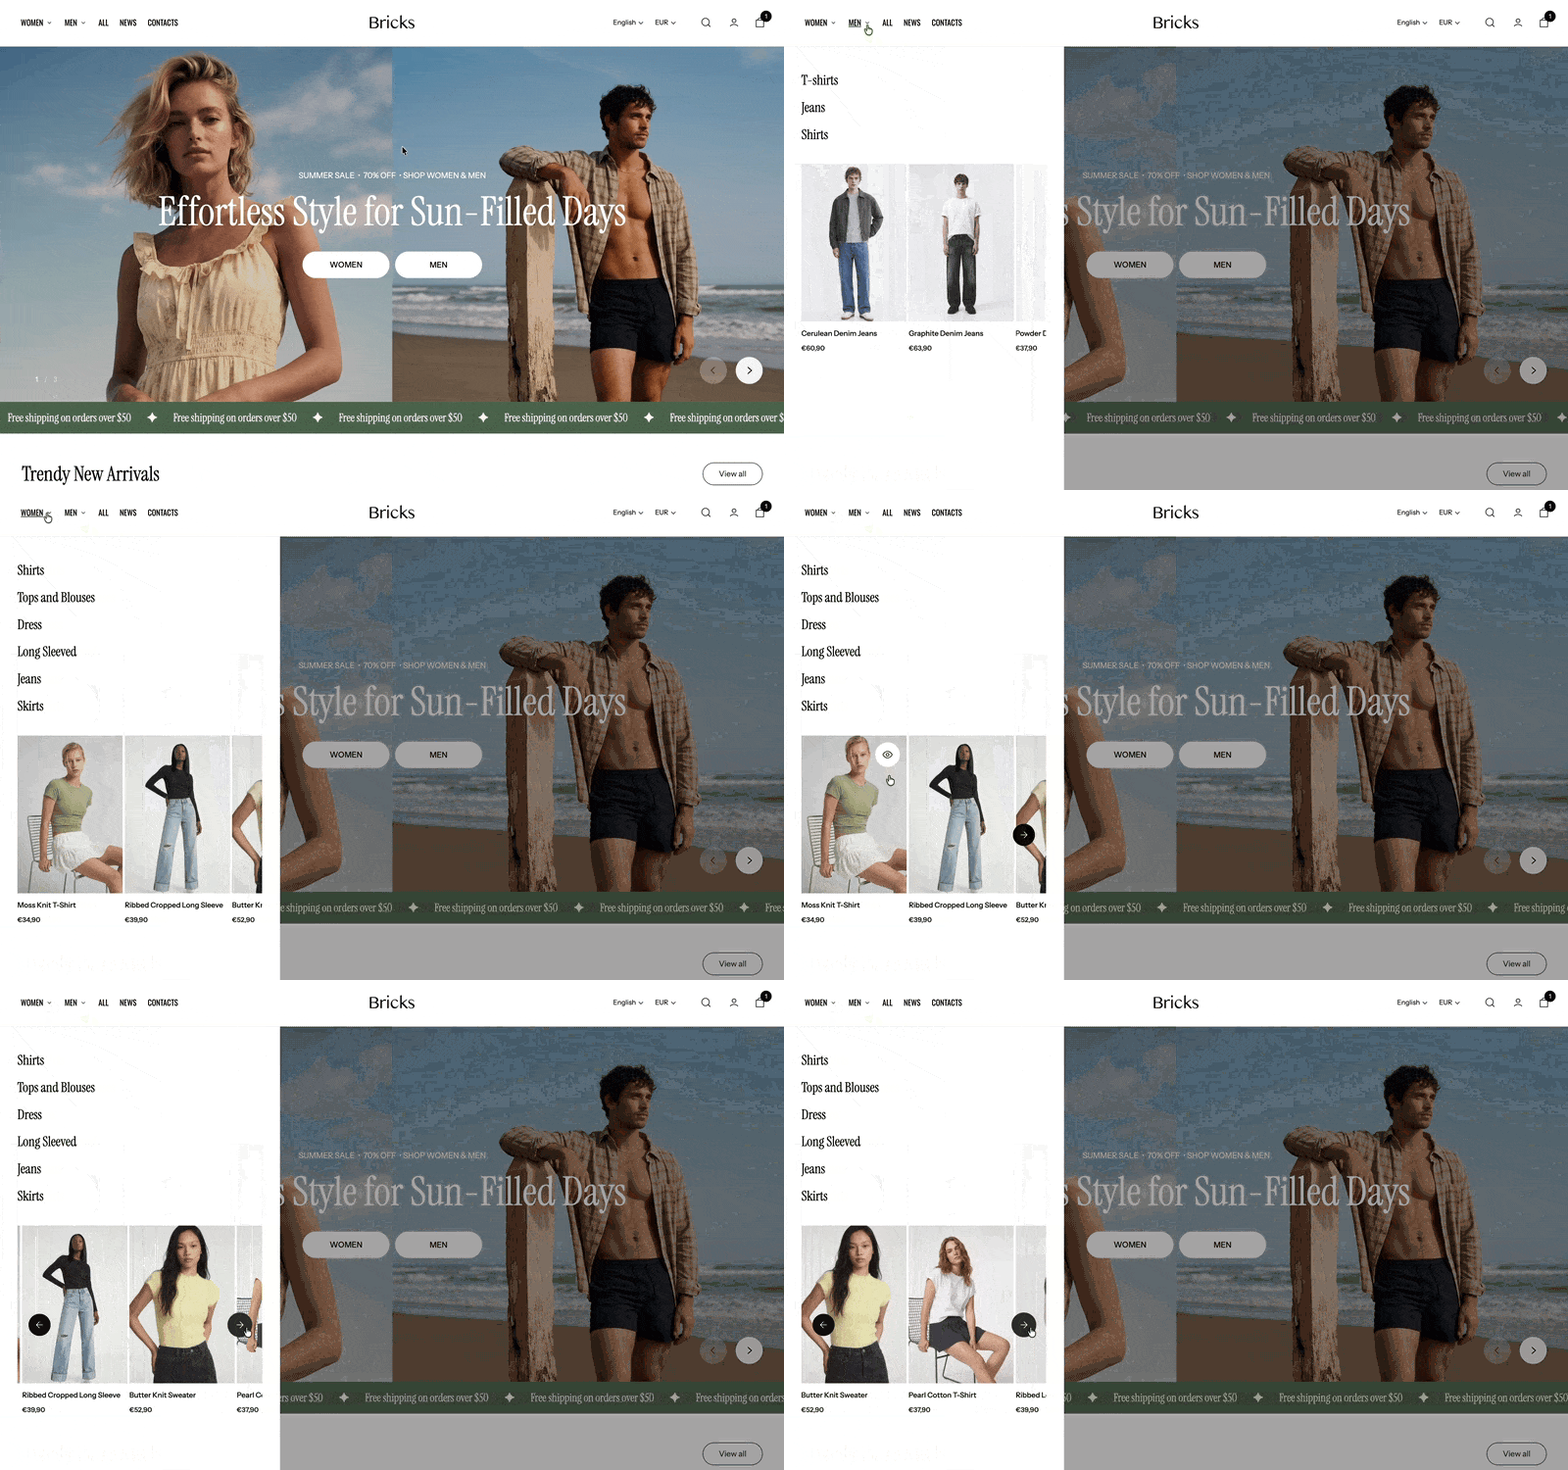
Product demonstrations
Use stable footage and keep the product large enough to show the feature being demonstrated. A short reveal, rotation, texture detail, or mechanism is usually more effective than a complete promotional video. Twelve to eighteen FPS provides a useful starting range for moderate movement, while a higher rate should be reserved for action that visibly breaks apart at lower settings.
If the campaign begins with still product photos rather than video, do not manufacture a video merely to convert it back into GIF. Use the Free Image to GIF Maker when each image should become a straightforward frame. Choose the Free GIF Slideshow Maker when you need animated transitions, carousel movement, overlays, or a more designed sequence. These workflows preserve the source images directly and avoid unnecessary video recompression.
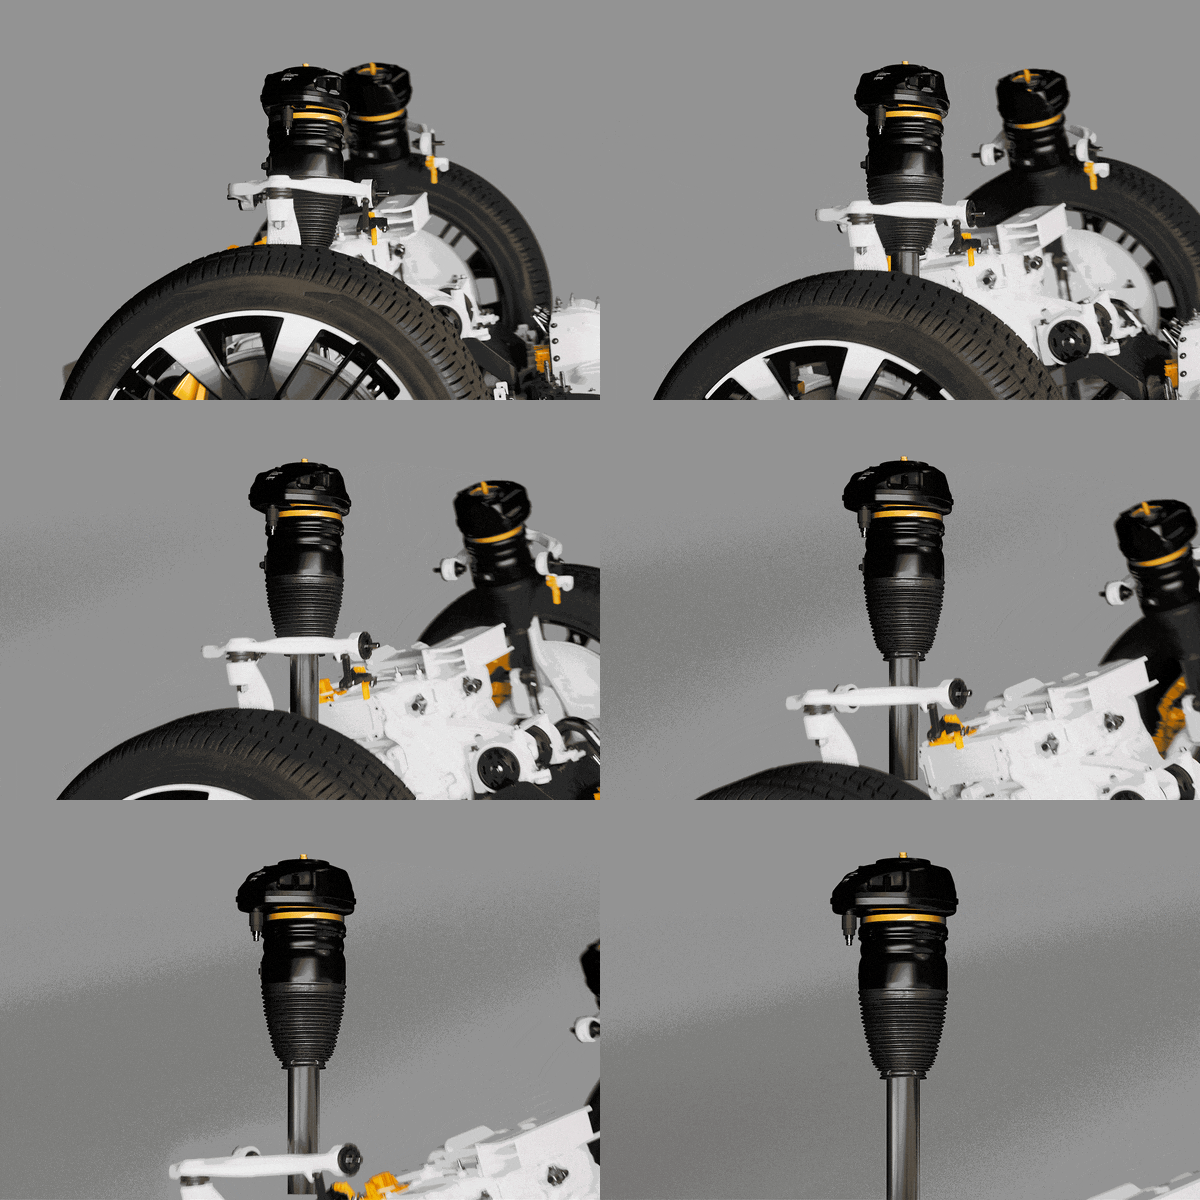
Reactions, memes, and social clips
Timing matters more than resolution. Crop around the person or action, retain the setup only when it is needed to understand the reaction, and end on a frame that returns naturally to the beginning. A compact 480–640 pixel GIF at 15–20 FPS often communicates the moment better than a large animation with a slow introduction.
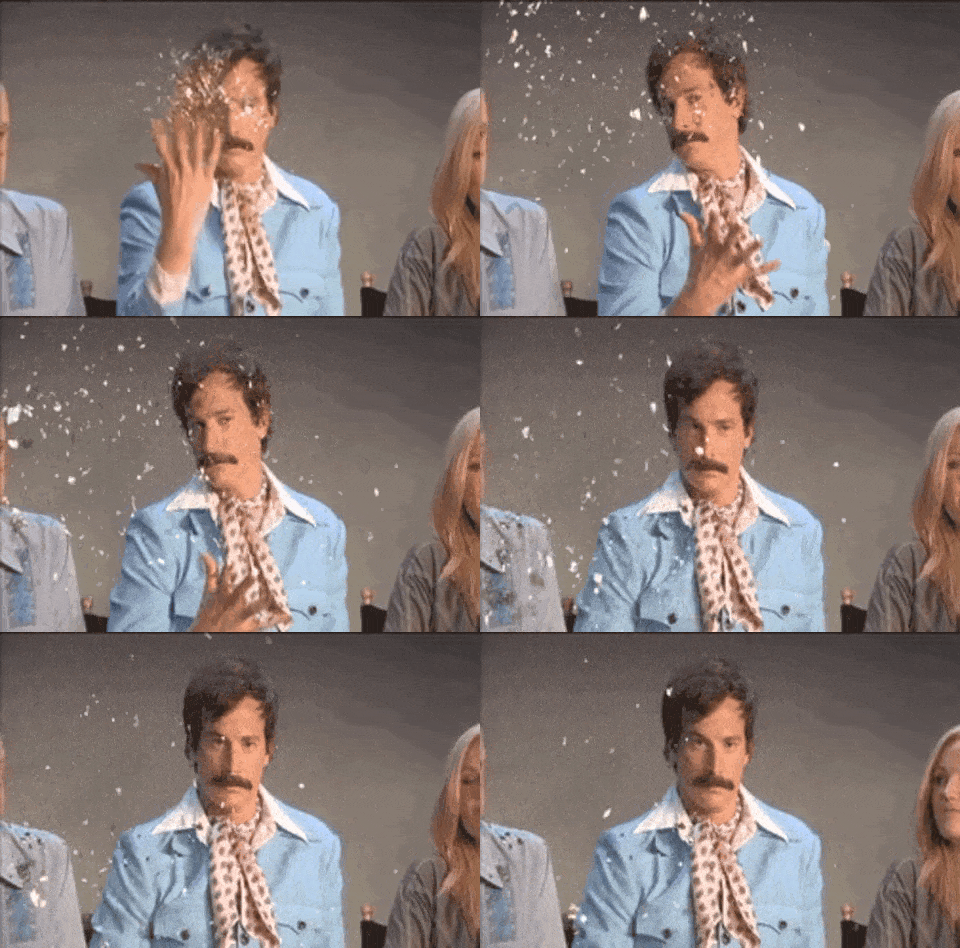
Animated email content
Match the output width to the email layout, keep the essential message visible in the first frame, and avoid loops that take too long to reveal the offer or product. File size affects how quickly the animation appears, particularly on mobile connections, so an email GIF should normally be more restrained than a downloadable portfolio asset.
When the purpose is a promotional message rather than video-based motion, the Free Scrolling Text GIF Generator can create a cleaner animated headline without the visual noise of converted footage. For an expiring offer, a purpose-built countdown from the Free Countdown Timer GIF Generator is more informative than placing a prerecorded clock inside an MP4.
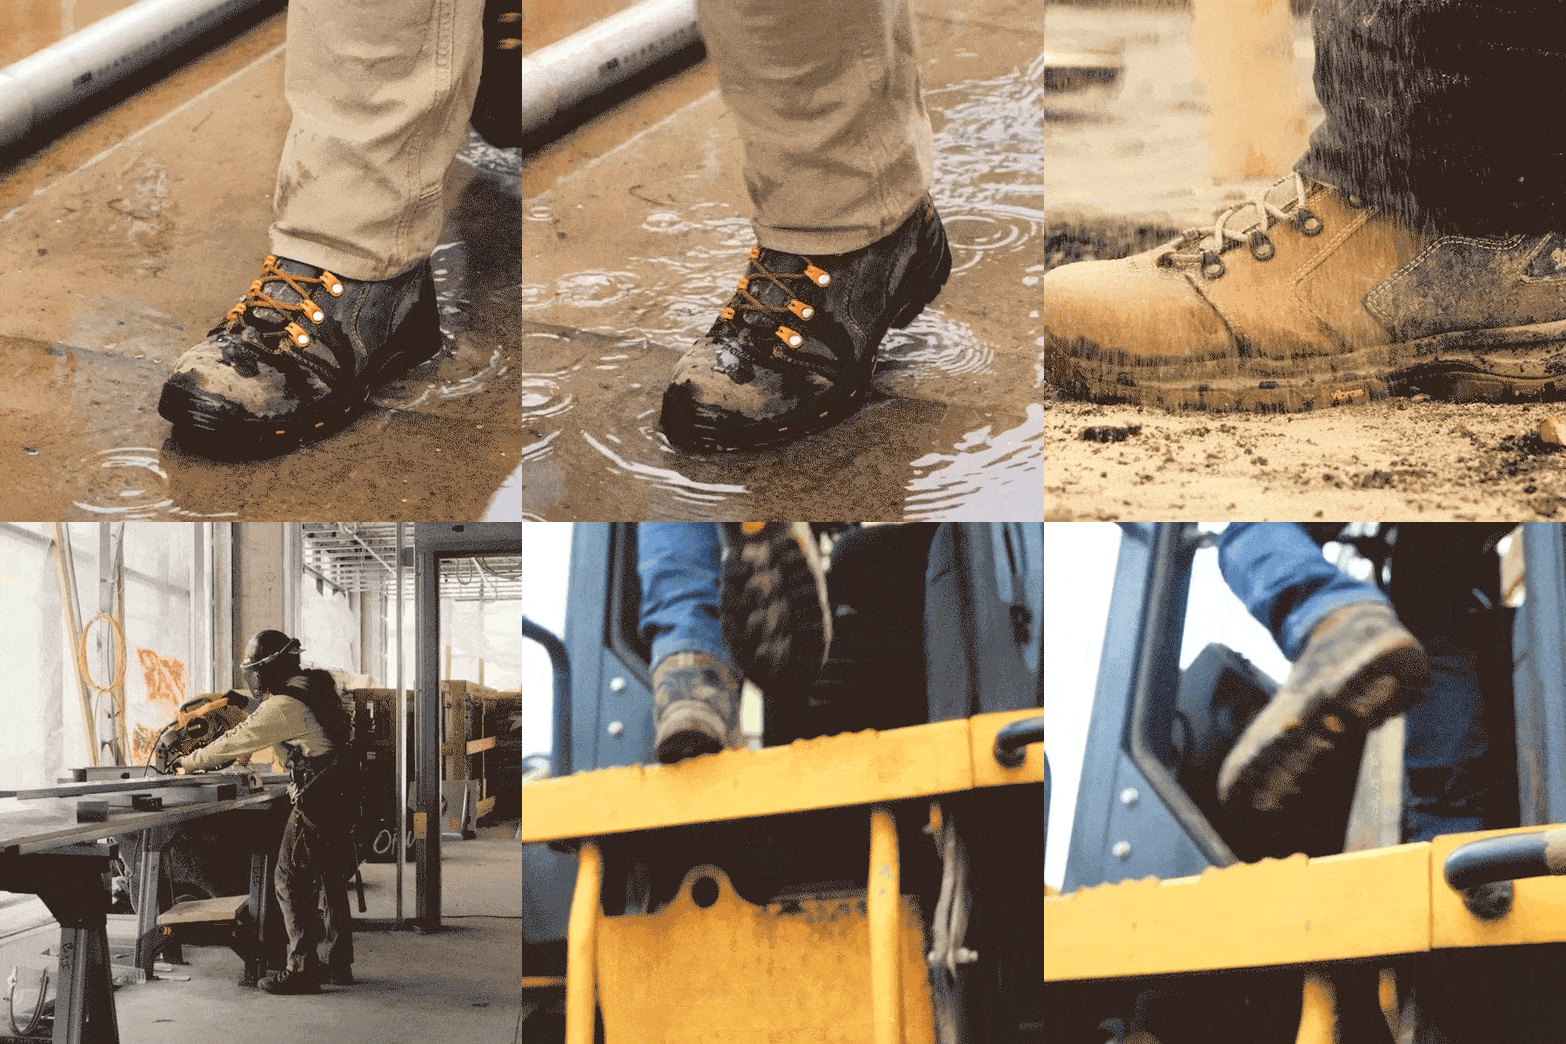
Why a converted GIF looks blurry, choppy, or too large
| Problem | Likely cause | Practical fix |
|---|---|---|
| Blurry text or edges | Output dimensions are too small, the source is soft, or the aspect ratio was stretched | Return to the original source, crop tighter, preserve the aspect ratio, and raise width only as needed |
| Choppy movement | Frame rate is too low for the action or frames were removed too aggressively | Increase FPS modestly or shorten the clip so more frames fit the size budget |
| Large file | The clip is long, wide, high-FPS, or visually complex | Trim pauses, crop unused areas, reduce dimensions, then compress to a target size |
| Banding in gradients | The video requires more colors than GIF represents comfortably | Use a cleaner background, protect color quality, or keep the content as video |
| Visible jump in the loop | The final frame does not connect to the opening frame | Trim at a repeated pose, movement cycle, or stable visual state |
| Text is unreadable in email | The GIF was judged in a large preview rather than at its final display size | Preview at the email width, crop closer, and simplify the amount of text |
When GIF is not the right output
Keep the MP4 when the clip is long, contains important audio, depends on rich photographic color, or needs full-screen detail. Video compression is far more efficient for continuous footage, so forcing a long recording into GIF can create a file that is both heavier and visibly worse. GIF works best for short, silent, automatically repeating moments that must behave like an image.
The destination should decide the format. Use GIF for a quick visual instruction in a help article, a product movement in an email, a compact reaction in chat, or an animation that should start without a play button. Use video for complete demonstrations, spoken explanations, complex cinematography, and any sequence where the viewer needs controls, sound, or sustained high resolution.
A final quality checklist
- The clip communicates one complete idea without sound.
- The start and end points create a clean, intentional loop.
- Unused borders, browser chrome, and background areas have been cropped.
- Text, faces, and product details are clear at the final display size.
- The frame rate is high enough for the action but does not preserve redundant frames.
- The output dimensions match the destination instead of the source video.
- The downloaded GIF opens, animates, and stays within the required file-size limit.
Create a better GIF by removing what viewers do not need
The most reliable way to convert MP4 to GIF without an obvious loss of quality is to protect the useful visual information and remove everything else. Select one short action, crop around the subject, choose dimensions that match the placement, and use only as many frames as the movement requires. These decisions usually preserve more perceived quality than exporting a maximum-size GIF and applying aggressive compression afterward.
Start with the Free Video to GIF Converter to select the clip and balance width, FPS, speed, and quality. If the finished animation must meet a particular upload limit, use the Free GIF Compressor as the final step rather than sacrificing clarity before the conversion is complete.
FAQ about converting MP4 to GIF
Does converting MP4 to GIF reduce quality?
Yes, some loss is unavoidable because GIF represents color and motion differently from MP4. However, a clean source, focused crop, suitable dimensions, and appropriate frame rate can preserve the details that matter to viewers.
What is the best frame rate for a high-quality GIF?
Start around 10–15 FPS for software tutorials and 15–20 FPS for reactions, gestures, and product motion. Increase the frame rate only when important movement looks visibly jumpy, because additional frames can make the file much larger.
What is the best resolution for converting MP4 to GIF?
Use the resolution required by the final placement. Around 480–640 pixels wide is often enough for chat and compact embeds, while 640–800 pixels provides more room for interface text and product detail. Exporting at the original video resolution is unnecessary when the GIF will be displayed smaller.
Why is my GIF larger than the original MP4?
MP4 uses modern video compression that stores movement efficiently, while GIF stores a sequence of limited-color image frames. A short MP4 can therefore become a much larger GIF, especially when the output is long, wide, or high-FPS.
How can I make a GIF smaller without making it blurry?
Trim pauses and repeated actions first, crop unused areas, and reduce dimensions to the real display size. These structural changes usually save more data with less visible damage than immediately lowering color quality or removing many important frames. The Free GIF Compressor can then reach a specific target size.
Why does my video-to-GIF conversion look choppy?
The output frame rate may be too low for the speed of the action, or too many frames may have been removed during optimization. Shorten the clip or increase FPS slightly, then preview the fastest movement at the final display size.
Can a GIF include audio from the MP4?
No. GIF is an image format and does not support audio. Keep the content as MP4 when sound is necessary to understand the message.
How long should a GIF made from video be?
Use the shortest duration that communicates one complete visual idea. Reactions and product moments often work within a few seconds, while a focused interface tutorial may need longer pauses. If the clip contains multiple tasks, split it into separate GIFs.
Should I crop the video before or after converting it to GIF?
Cropping during conversion is efficient because unnecessary pixels never enter the final animation. Cropping afterward is still useful when you need to refine the composition or prepare different versions from the same GIF.
When should I keep MP4 instead of converting to GIF?
Keep MP4 for long clips, audio, detailed photographic footage, full-screen demonstrations, or any content that needs playback controls. Choose GIF for short, silent loops that should display and repeat like an image.