How to make a GIF from images
A practical guide to frame order, timing, image size, animation styles, and export quality.
What does it mean to make a GIF from images?
Making a GIF from images means arranging a set of still pictures into a timed sequence. Each uploaded image becomes a frame, and the GIF displays those frames one after another before repeating the sequence. The source can be product photos, screenshots, illustrations, rendered animation frames, before-and-after images, or a burst of photographs captured moments apart.
The mechanical process is simple, but a useful animation depends on decisions made before export. Images need a logical order, compatible proportions, enough display time to be understood, and a canvas that matches the intended placement. Adding more frames or using the largest available dimensions does not automatically improve the result. It can instead create an oversized GIF with unstable framing and a loop that feels rushed or repetitive.
Use the Free Image to GIF Maker when you want each image to become a straightforward frame in a single animated sequence. The rest of this guide explains how to prepare those frames and choose settings that keep the finished GIF clear, smooth, and practical to share.
Image sequence or animated slideshow?
These two formats begin with still images but solve different communication problems. An image sequence treats the pictures as animation frames: each one replaces the previous frame, and the viewer reads the change as movement or a series of states. A slideshow is a designed presentation that may use fades, slides, overlays, carousels, or multiple images on the canvas at once.
| Choose | Best for | How the images behave |
|---|---|---|
| Simple image sequence | Frame-by-frame art, screenshots, before-and-after changes, stop motion, product angles | Every image becomes a consecutive frame |
| Slideshow | Photo stories, portfolios, event recaps, presentations, and email showcases | Images transition between designed scenes |
| Carousel | Product collections, variants, recommendations, and multiple offers | Several images move across one visual area |
| Overlay or comparison | Transformations, redesigns, progress, and feature comparisons | Images occupy the same space or reveal one another |
Choose the Free GIF Slideshow Maker when you need transitions, carousel movement, overlay effects, or a more polished presentation. Use the simpler frame-based maker when the order and timing of the original images should define the animation without additional visual choreography.
Best settings at a glance
| Use case | Starting point | Main priority |
|---|---|---|
| Product angles | 4–8 images; 500–900 ms per frame | Consistent crop and a complete visual rotation |
| Before and after | 2–4 images; 800–1500 ms per frame | Enough time to compare each state |
| UI walkthrough | 3–8 screenshots; 1000–2000 ms per step | Readable labels and a logical action sequence |
| Stop-motion effect | 12–30 images; 80–150 ms per frame | Small, consistent changes between frames |
| Photo slideshow | 4–10 images; 1200–2500 ms per image | Story order, transitions, and viewing time |
| Product carousel | 3–8 images; 600–1200 ms per scene | Balanced spacing and clear product visibility |
How to make an animated GIF from images
1. Decide what the animation should communicate
Begin with one clear purpose. A product GIF may show different angles, colors, or features. A tutorial may demonstrate successive interface states. A before-and-after animation should make one transformation easy to compare. A photo sequence may tell a short story. Defining the purpose helps you reject images that look attractive individually but do not improve the sequence.
A GIF should usually communicate its idea within one loop. If the viewer must remember several unrelated messages, the animation will feel like a compressed presentation rather than a focused visual. Divide separate stories into separate GIFs or use a longer slideshow format when every image is genuinely necessary.
2. Select only the essential images
More images create more frames, a longer loop, and a larger file. Choose the minimum set that makes the visual change understandable. Product angles should reveal a new side or feature. Tutorial screenshots should represent meaningful steps. Stop-motion frames should add visible movement instead of repeating nearly identical positions.
Remove accidental duplicates, soft photographs, inconsistent exports, and frames that interrupt the visual rhythm. When two images communicate the same state, keep the clearer one. A deliberate six-frame sequence often looks more professional than a fifteen-frame GIF built from every available asset.
3. Put the frames in a logical order
Frame order creates meaning. A tutorial should follow the same order as the real task. A product rotation should continue in one direction rather than jumping between unrelated angles. A transformation should progress from the initial state to the result. A carousel should place the most important product early, because some viewers will not wait for the complete loop.
Rename prepared files with numbered prefixes when you are working with many frames, for example 01-front, 02-side, and 03-back. After uploading, preview the sequence from beginning to end and watch the transition from the final frame back to the first. A good internal order can still produce a visible jump when the loop restarts.
4. Normalize dimensions and aspect ratios
Every GIF uses one canvas, so mixed image dimensions must be reconciled. If one frame is square and another is wide, automatic fitting can introduce borders, unexpected crops, or a subject that appears to jump in size. Prepare images with the same aspect ratio whenever possible and keep the focal subject in a consistent position.
Choose the canvas for the final placement rather than the largest source image. A compact email or documentation GIF does not need the full dimensions of a high-resolution product photograph. Reducing the canvas before export saves file size across every frame and can make the sequence feel more stable.
If a finished animation contains empty margins or an inconsistent focal area, refine it with Free Crop GIF. Cropping is most effective when it removes information that never contributes to the sequence, allowing the subject to remain larger within a smaller output.
5. Choose a frame delay that matches the content
Frame delay controls how long each image remains visible. Short delays create continuous movement; longer delays make the GIF behave like a slideshow. The correct delay depends on how much information the viewer must process. A small stop-motion change can pass quickly, while a screenshot containing text needs enough time to be read.
| Frame delay | Approximate feel | Suitable content |
|---|---|---|
| 80–150 ms | Fast, animation-like motion | Stop motion, rendered frames, simple gestures |
| 200–400 ms | Quick sequence with visible steps | Product rotations, reactions, simple transformations |
| 500–900 ms | Deliberate product or feature reveal | Product angles, variants, visual comparisons |
| 1000–1500 ms | Slow comparison | Before-and-after images, offers, short captions |
| 1500–2500 ms | Slideshow pace | Tutorial screenshots, portfolios, photo stories |
Treat these values as starting points. Preview the GIF several times at the final display size. If the viewer has to chase the message, increase the delay. If the animation feels stalled after the image is already understood, shorten it. When the editor permits individual timing, hold informative frames longer and let transitional frames pass more quickly.
6. Make the loop feel intentional
An infinite loop repeats the last-to-first transition as often as every transition inside the sequence. Product rotations can loop naturally when the last angle leads back toward the first. A progress sequence may benefit from briefly holding the result before restarting. A before-and-after GIF can reverse direction or repeat the initial image, depending on whether comparison or continuous movement is more important.
Avoid adding duplicate frames merely to create a pause if the tool supports frame timing, because repeated full images increase the amount of stored data. When the restart still feels abrupt, change the first or last frame, reorder the sequence, or use a slideshow transition that visually bridges the boundary.
7. Preview at the actual display size
A GIF can look clear in a large editor preview and become unreadable inside an email, product card, help article, or chat message. Scale the preview to the expected placement and inspect small text, product details, borders, and the stability of the focal point. This step often reveals that the crop should be tighter or that a frame contains too much information.
Check the first frame separately. It should make sense while the file loads and should introduce the subject clearly. For promotional use, place the product or main message early rather than relying on a later frame that a hurried viewer may never see.
8. Generate, inspect, and optimize
After generating the GIF, play several complete loops and verify the order, timing, colors, dimensions, and restart. Inspect whether images shift because of inconsistent alignment and whether gradients or photographs show visible color reduction. Return to the best source images when changes are needed instead of repeatedly exporting an already reduced GIF.
If the animation is too heavy for its destination, use the Free GIF Compressor after the sequence is finalized. For detailed recommendations on common upload limits, see the guide to compressing GIFs to a target file size. It explains how targets such as 256 KB, 1 MB, 2 MB, and 5 MB affect the balance between dimensions, color, frames, and smoothness.
Choosing images for different GIF types
Product GIFs and ecommerce carousels
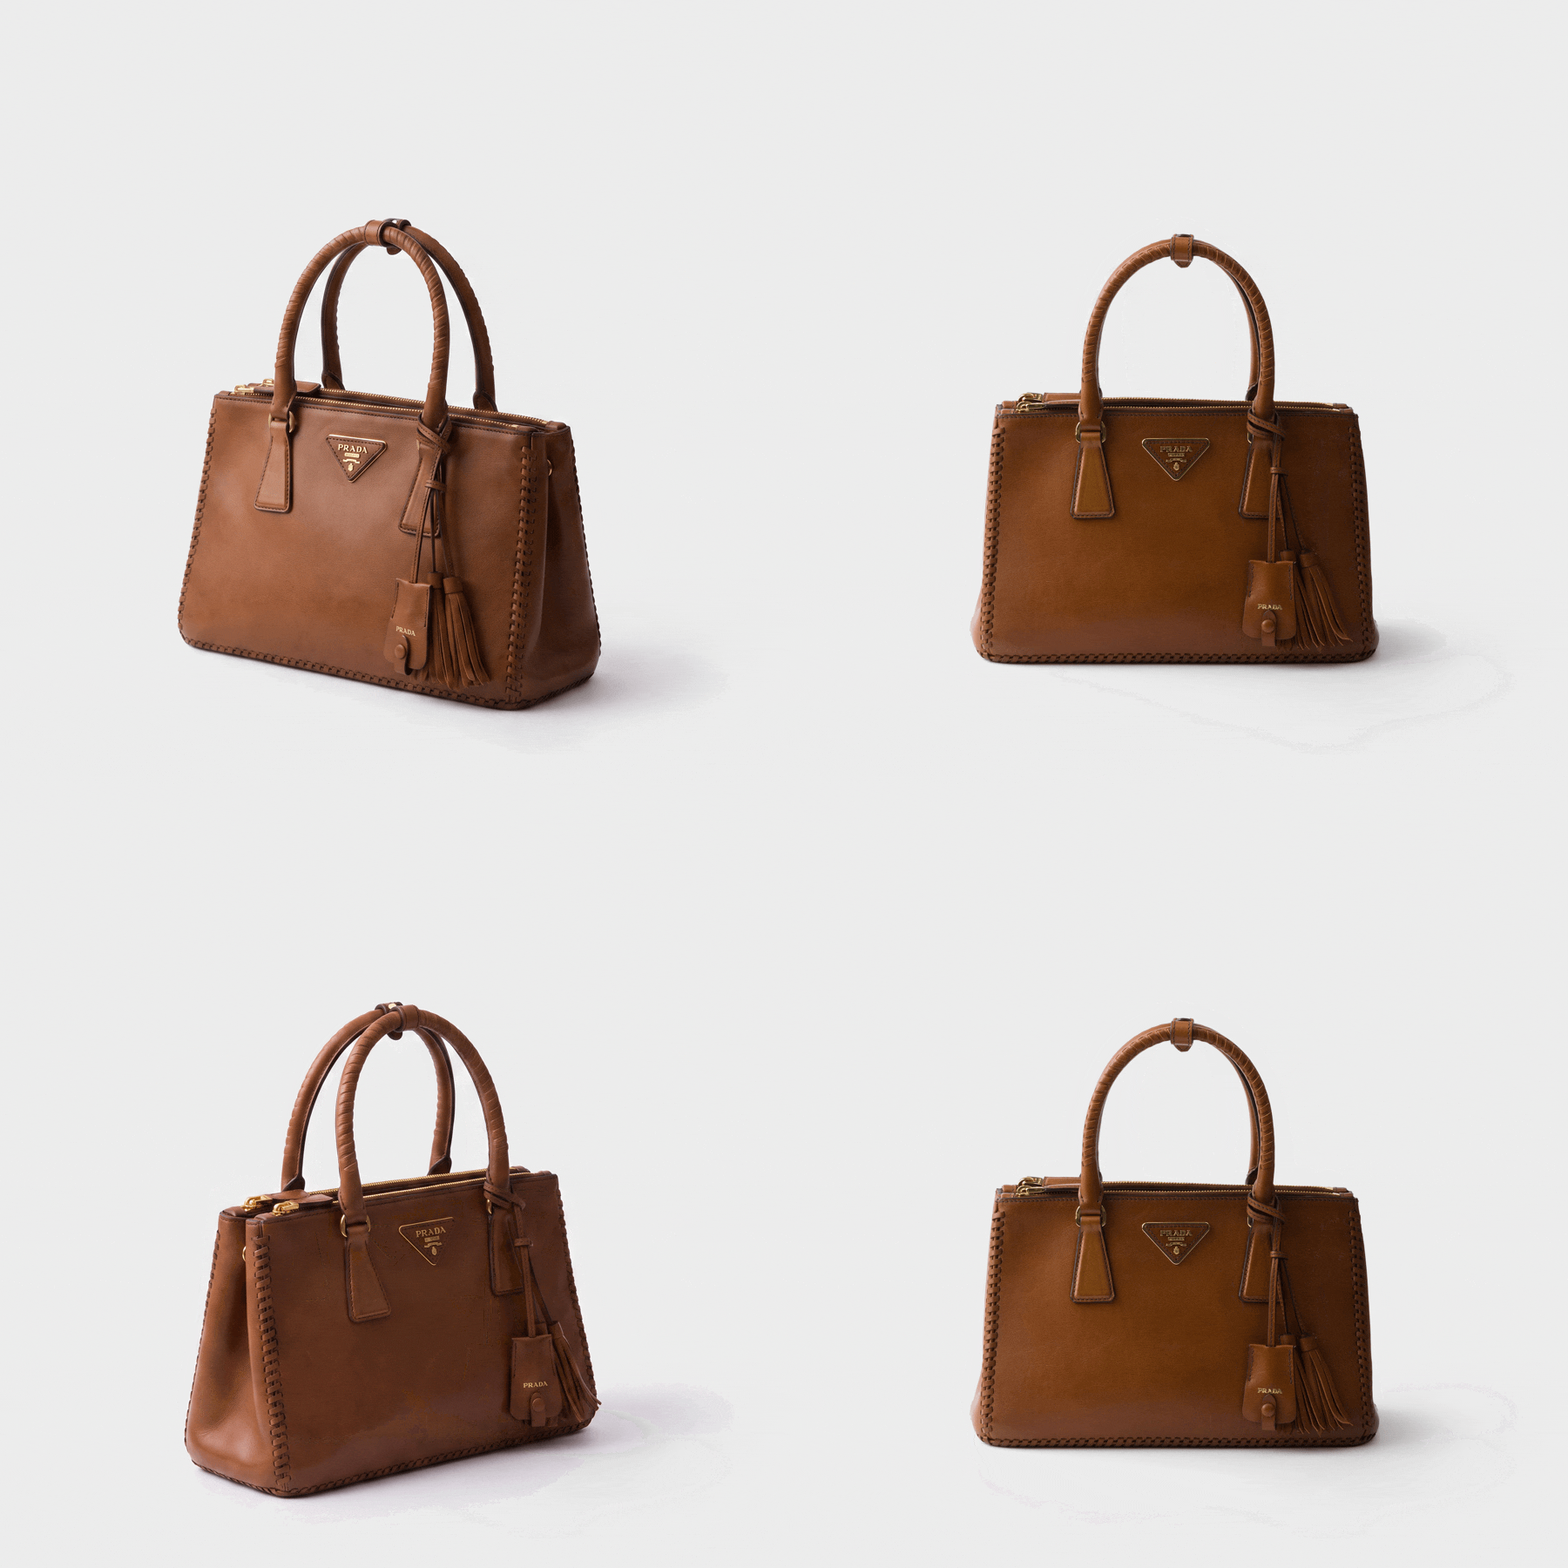
Use photographs with consistent lighting, scale, background, and camera height. A product should not appear to grow, shrink, or drift around the canvas unless movement is intentional. Arrange angles in a natural path and keep the most persuasive view near the beginning. When showing variants, use the same pose or crop so color and finish are the only major changes.
Choose a frame sequence for a straightforward rotation or color change. Choose a carousel when several products need to remain recognizable as separate items and move through a shared banner. In email, keep the first product valuable on its own because loading conditions or client behavior can affect how much animation the recipient sees.
Before-and-after GIFs
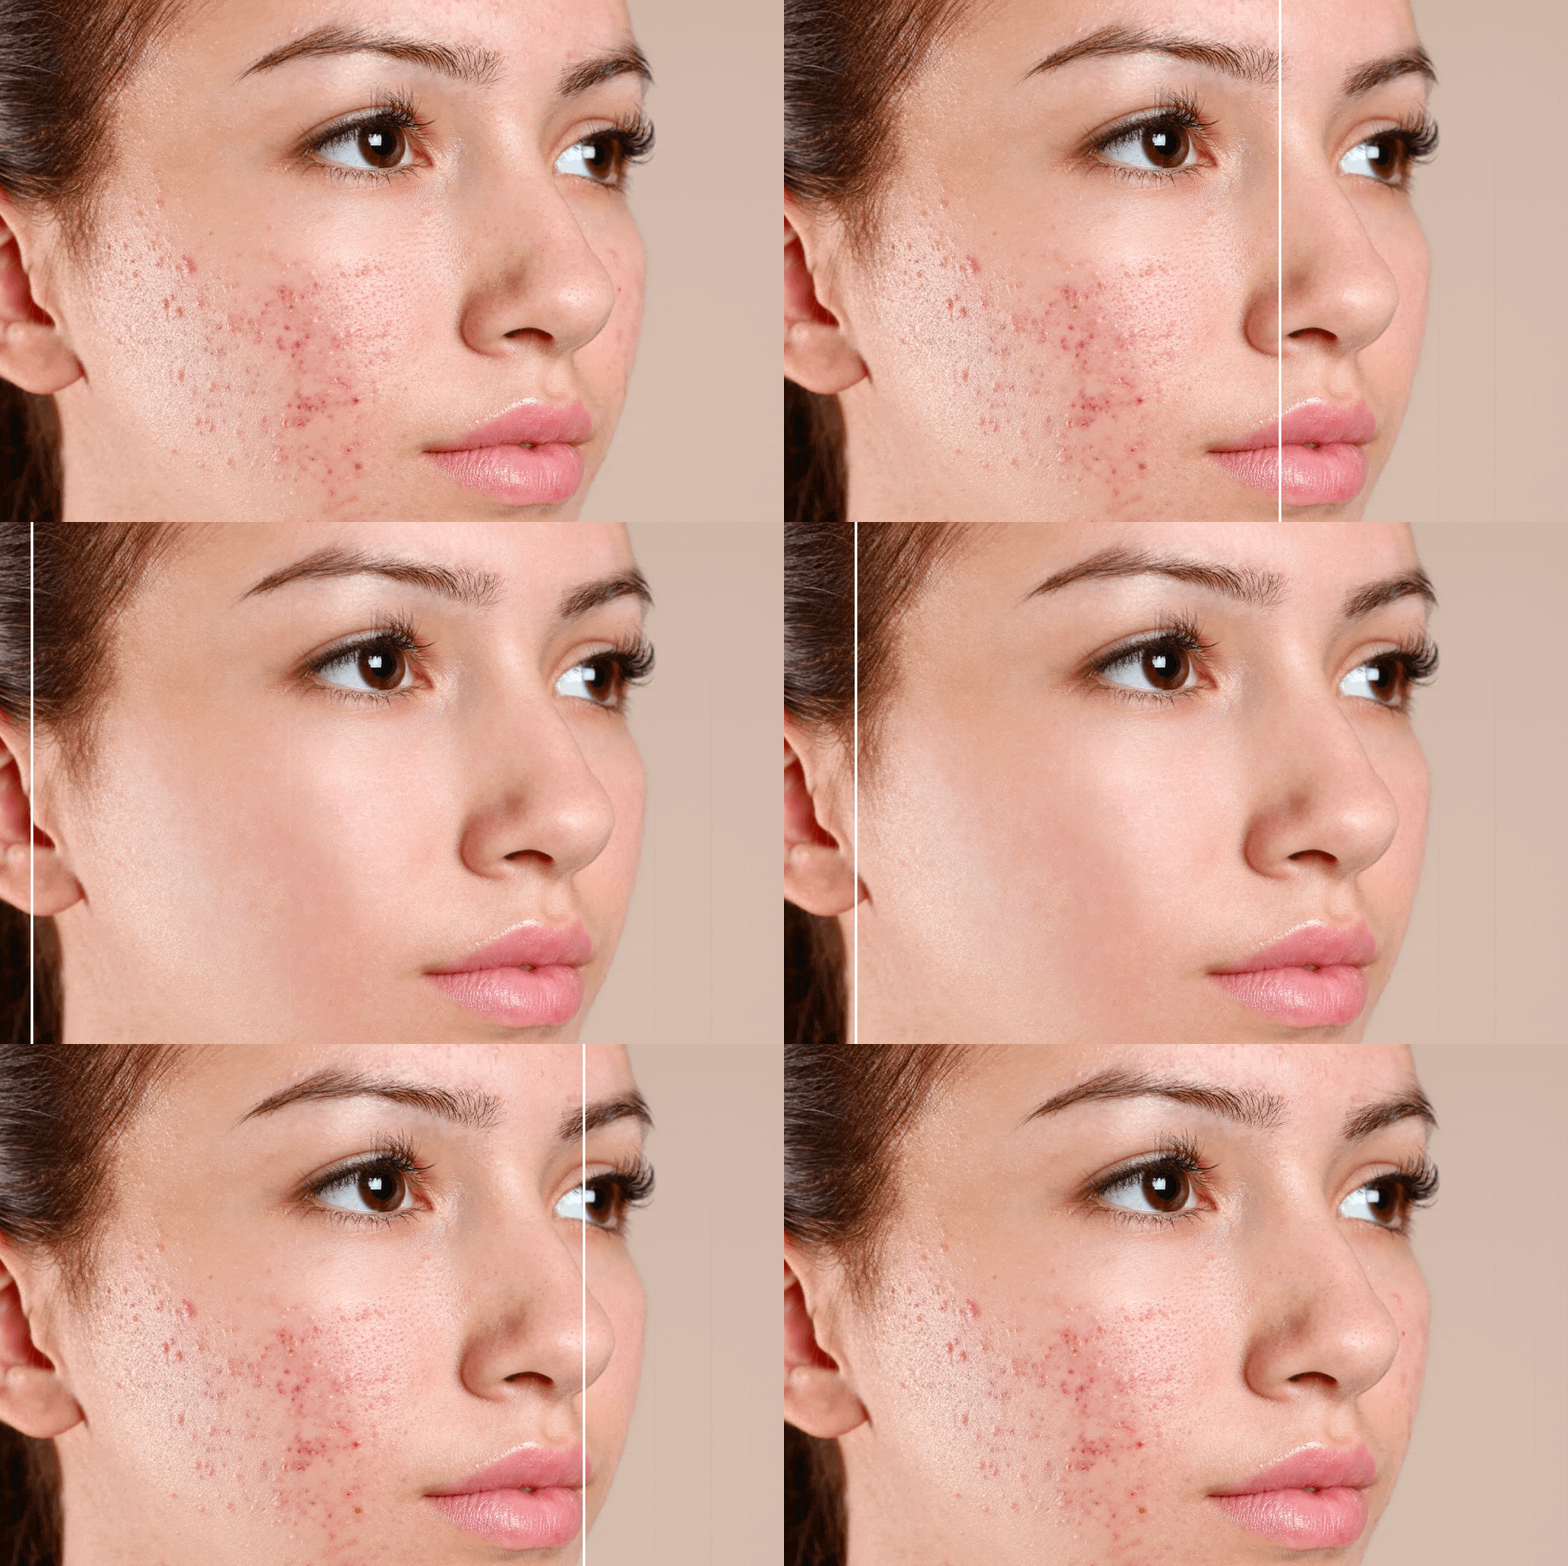
Align both images around the same subject and perspective. Large changes in crop or camera position force viewers to compare framing instead of the result. Give each state enough time to register, and consider repeating the final result slightly longer when it is the main proof point. Labels such as Before and After should be short, consistently positioned, and readable at the final size.
When the comparison needs a moving divider rather than a simple change of frames, use the Before and After GIF Maker. It takes two photos and creates a scanner reveal or transition with editable captions. Our guide to making a before and after GIF shows the effects in action and explains which image pairs suit each approach.
Tutorials made from screenshots
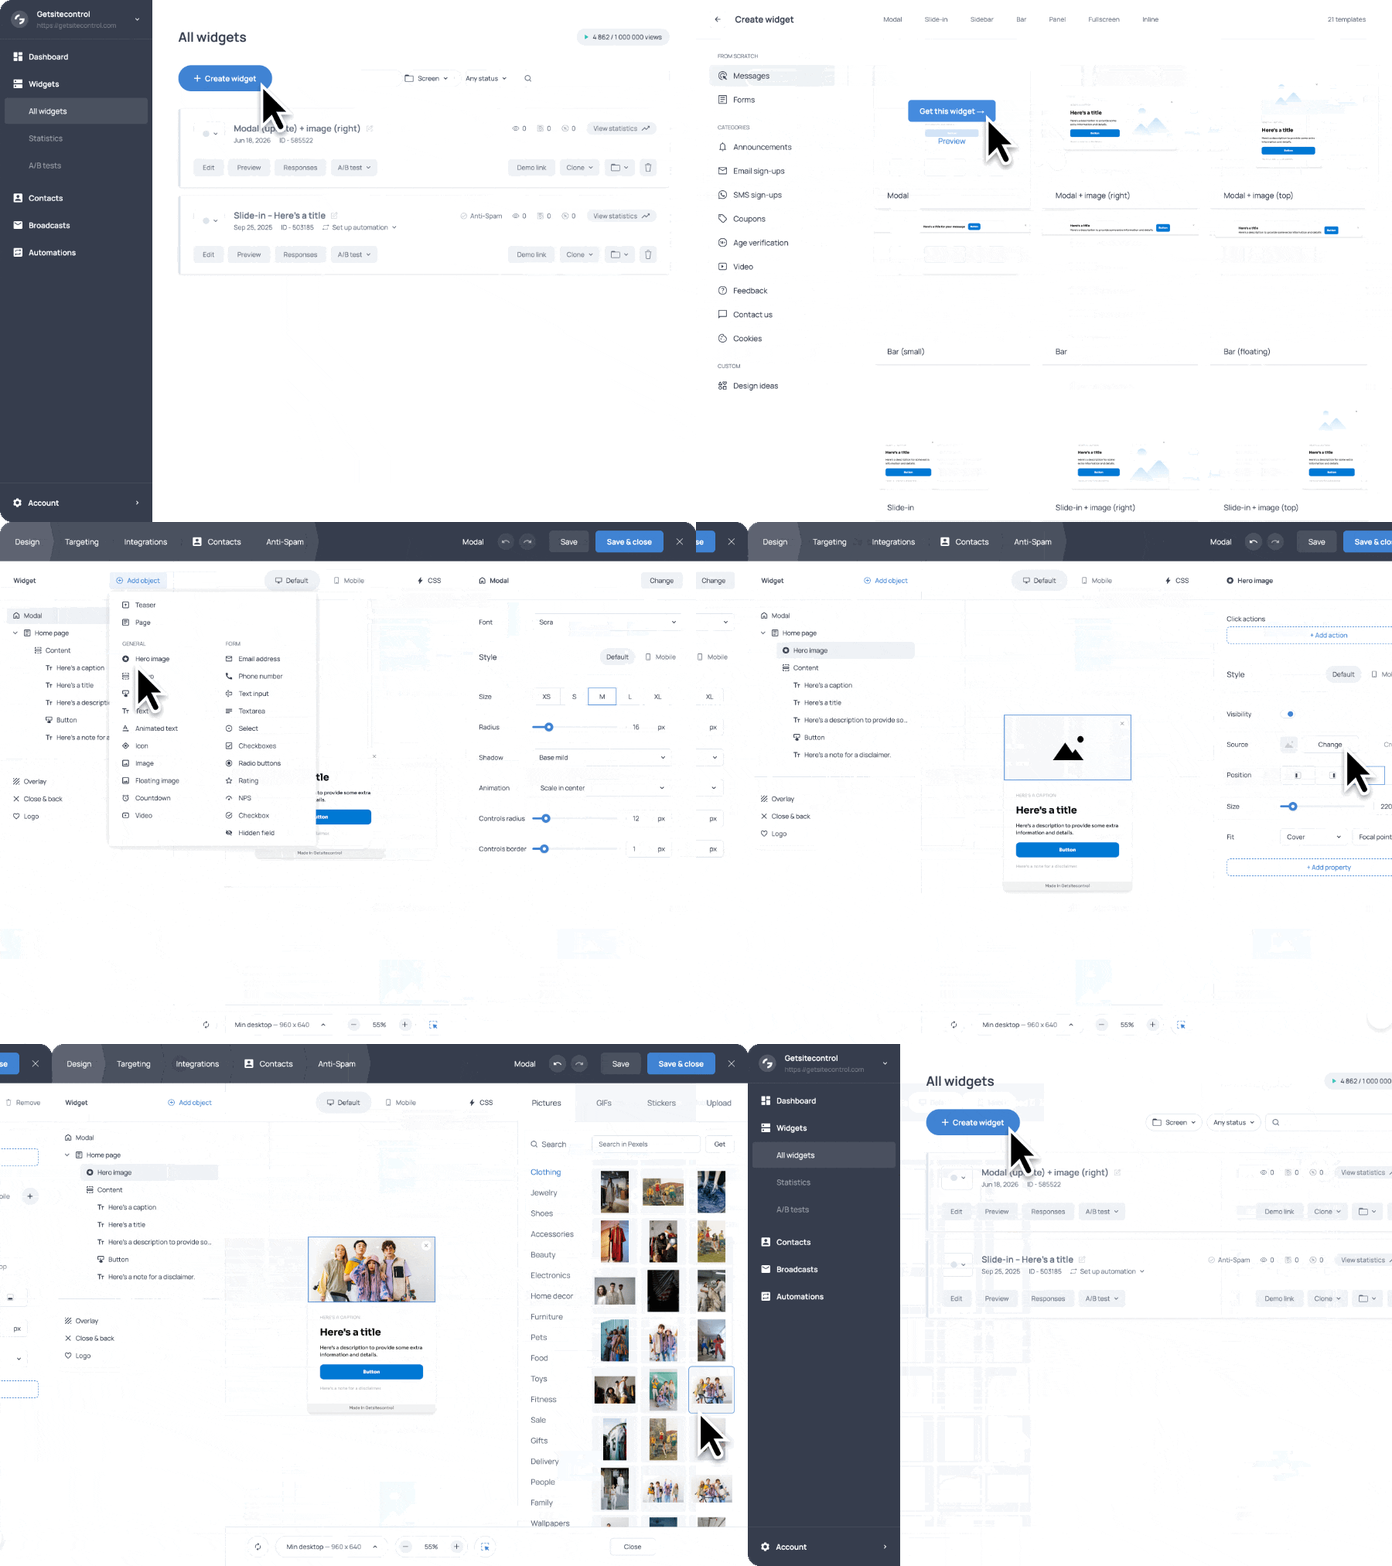
Capture one meaningful interface state per frame. Crop to the relevant panel, keep the cursor or highlight visible, and allow extra time for frames containing instructions. A sequence of screenshots works well when the process is step-based and does not require continuous motion.
For a recording-based workflow, use the Free Video to GIF Converter and read our guide to converting MP4 to GIF without losing quality for advice on trim, crop, FPS, width, and color quality.
Frame-by-frame art and stop motion
Keep the canvas and subject position consistent across exports. Small changes between frames create smooth motion, while large gaps create a deliberate stepped style. Start with a moderate delay, then adjust according to the distance moved between frames. The more frames you include, the more important it becomes to remove duplicates and confirm that the loop returns to the starting pose cleanly.

Animated promotional messages
A frame sequence can reveal a product, benefit, discount, and call to action, but every scene should remain visually simple. If the main goal is moving copy rather than changing imagery, use the Free Scrolling Text GIF Generator instead of building many text slides manually. A purpose-built text animation is easier to read and usually requires fewer visual assets.

Why image-based GIFs look inconsistent or become too large
| Problem | Likely cause | Practical fix |
|---|---|---|
| Frames jump in size | Images use different dimensions, crops, or subject scale | Normalize the aspect ratio and align the focal point before export |
| Animation is too fast | The global delay is too short for the amount of information | Increase delay or give detailed frames individual timing |
| Loop has a visible jump | The final and opening frames do not connect | Reorder frames, select a better endpoint, or use a transition |
| GIF is very large | Too many frames, large dimensions, photographic detail, or long holds | Remove redundant images, reduce the canvas, then compress the final GIF |
| Colors flicker or change | Frames use very different palettes or gradients | Use consistent lighting and backgrounds; simplify visual complexity |
| Text is difficult to read | Frames change too quickly or the output is displayed too small | Increase delay, crop closer, and shorten the copy |
A practical checklist before export
- Every image contributes a distinct frame, step, angle, or message.
- The frame order tells one clear story and the loop restarts naturally.
- Images share a consistent aspect ratio, crop, and focal position.
- The frame delay gives viewers enough time to understand each image.
- The canvas matches the destination instead of the largest source file.
- The first frame communicates the subject before the animation completes.
- The downloaded GIF animates correctly and stays within the required size.
Build the sequence before optimizing the file
A strong image-based GIF begins with selection and structure. Choose only the frames that advance the idea, arrange them in a logical order, normalize their proportions, and set timing according to how much information each image contains. Once those decisions are correct, dimensions and compression can be adjusted without trying to rescue a confusing sequence.
Use the Free Image to GIF Maker for a direct frame-by-frame animation, or the Free GIF Slideshow Maker for effects, transitions, and carousels. Optimize the finished file only after the visual order and timing have been approved.
FAQ about making GIFs from images
How do I make a GIF from multiple images?
Upload at least two images, arrange them in the order they should appear, choose the canvas size and frame delay, preview the loop, and generate the GIF. Each uploaded image becomes a frame in the final animation.
Which image formats can I use to create a GIF?
JPG, PNG, and WebP are common source formats. The most important requirement is that the browser or tool can decode every file and that the images can be fitted to one consistent GIF canvas.
How many images should I use in a GIF?
Use the minimum number needed to communicate the movement or story. Two frames can show a comparison, four to eight can present product angles, and a stop-motion sequence may need more. Extra frames increase duration and file size.
What frame delay should I use?
Start around 80–150 ms for fast frame-by-frame motion, 500–900 ms for product views, and 1500–2500 ms for tutorial screenshots or slides. Preview the final size and adjust according to reading time.
Can I make a GIF from images of different sizes?
Yes, but all frames must fit one canvas. Mixed sizes can create borders, cropping, or visual jumping. For the cleanest result, prepare the images with the same aspect ratio and align the subject consistently.
Why does my GIF look blurry?
The output may be too small, the source images may be soft, or the animation may be displayed larger than its exported dimensions. Return to the original images, use an appropriate canvas, and avoid repeated recompression.
How can I make the GIF loop smoothly?
Choose opening and closing frames that connect visually, keep the direction of movement consistent, and preview the last-to-first transition. A short hold or a suitable slideshow transition can make the restart feel intentional.
Should I use an image-to-GIF sequence or a slideshow?
Use a direct sequence when each image should act as a frame. Use a slideshow when you need fades, slides, overlays, carousels, captions, or a designed presentation of separate photos.
How do I make a GIF from screenshots?
Capture one meaningful state per screenshot, crop to the relevant interface area, arrange the steps in task order, and give each frame enough time for labels or instructions to be read.
Why is my image GIF so large?
Large dimensions, many photographic frames, complex colors, and unnecessary images all increase size. Remove redundant frames, reduce the canvas to its actual display size, and compress the finished animation with the Free GIF Compressor to the required target.